Specific export : Setup

Watch the guide

9 steps

2 years ago

1
All "Export to Specific Format" recipes follow the same structure
All "<b>Export to Specific Format</b>" recipes follow the same structure
2
Follow this tutorial, and apply it based on the file format you choose
Follow this tutorial, and apply it based on the file <b>format you choose</b>
3
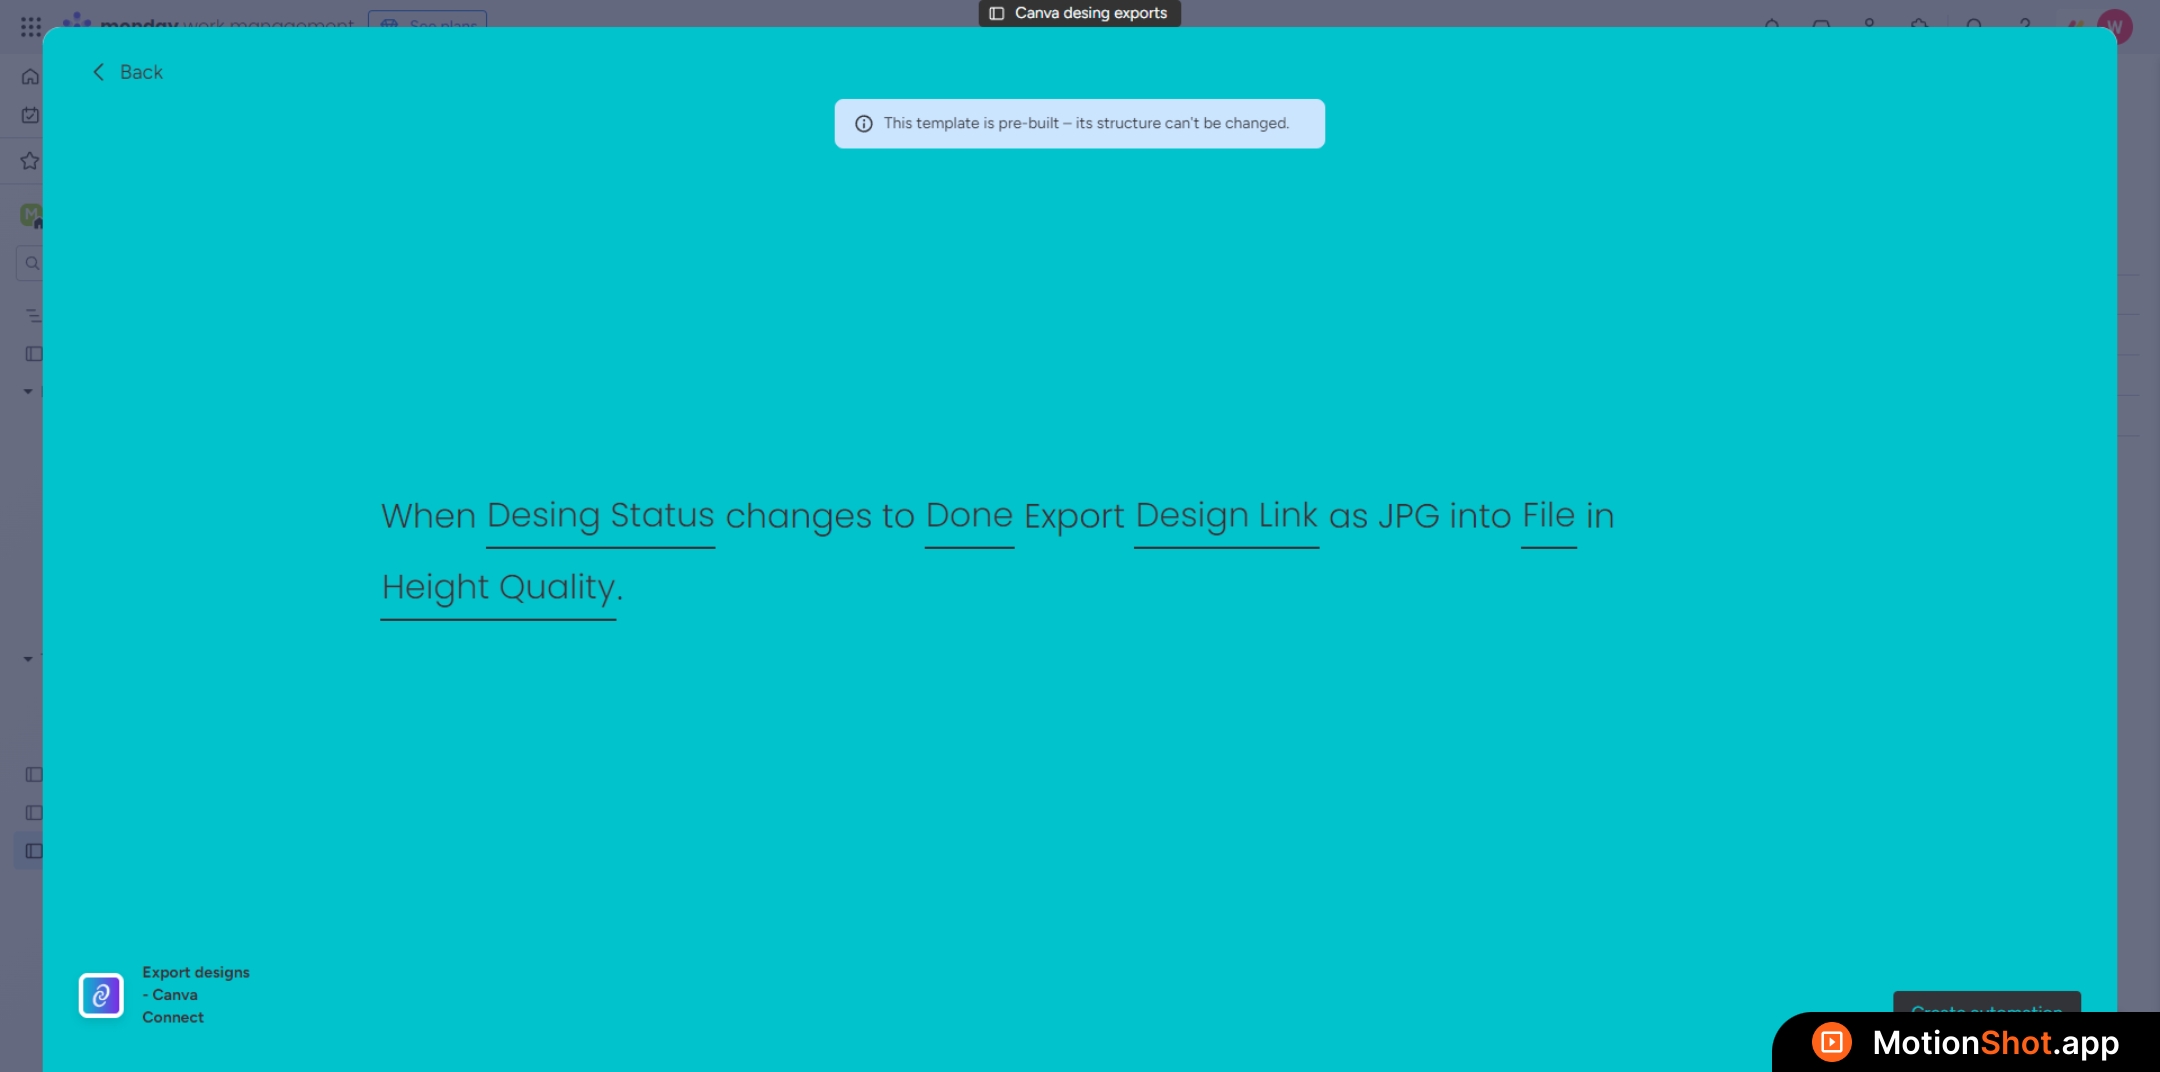
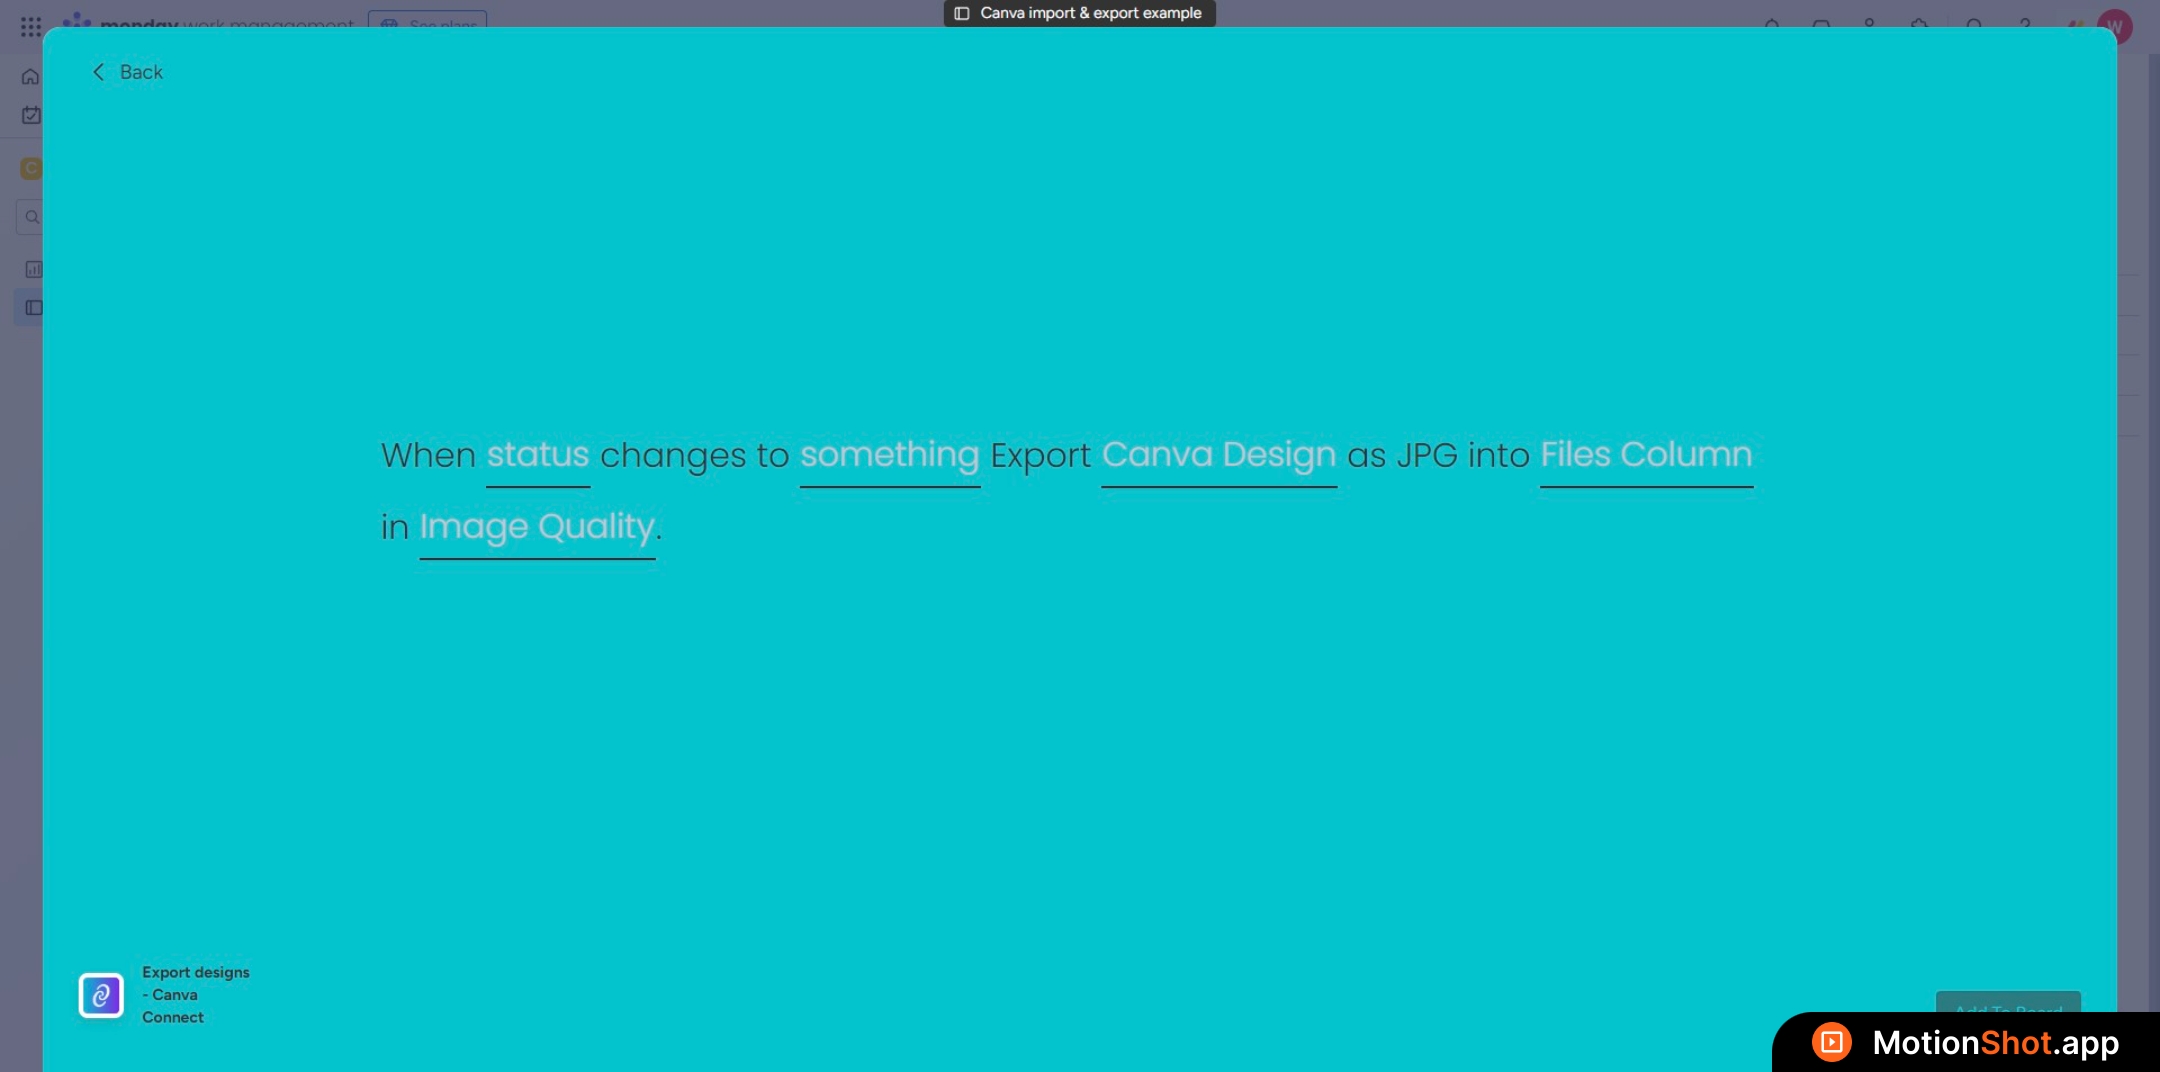
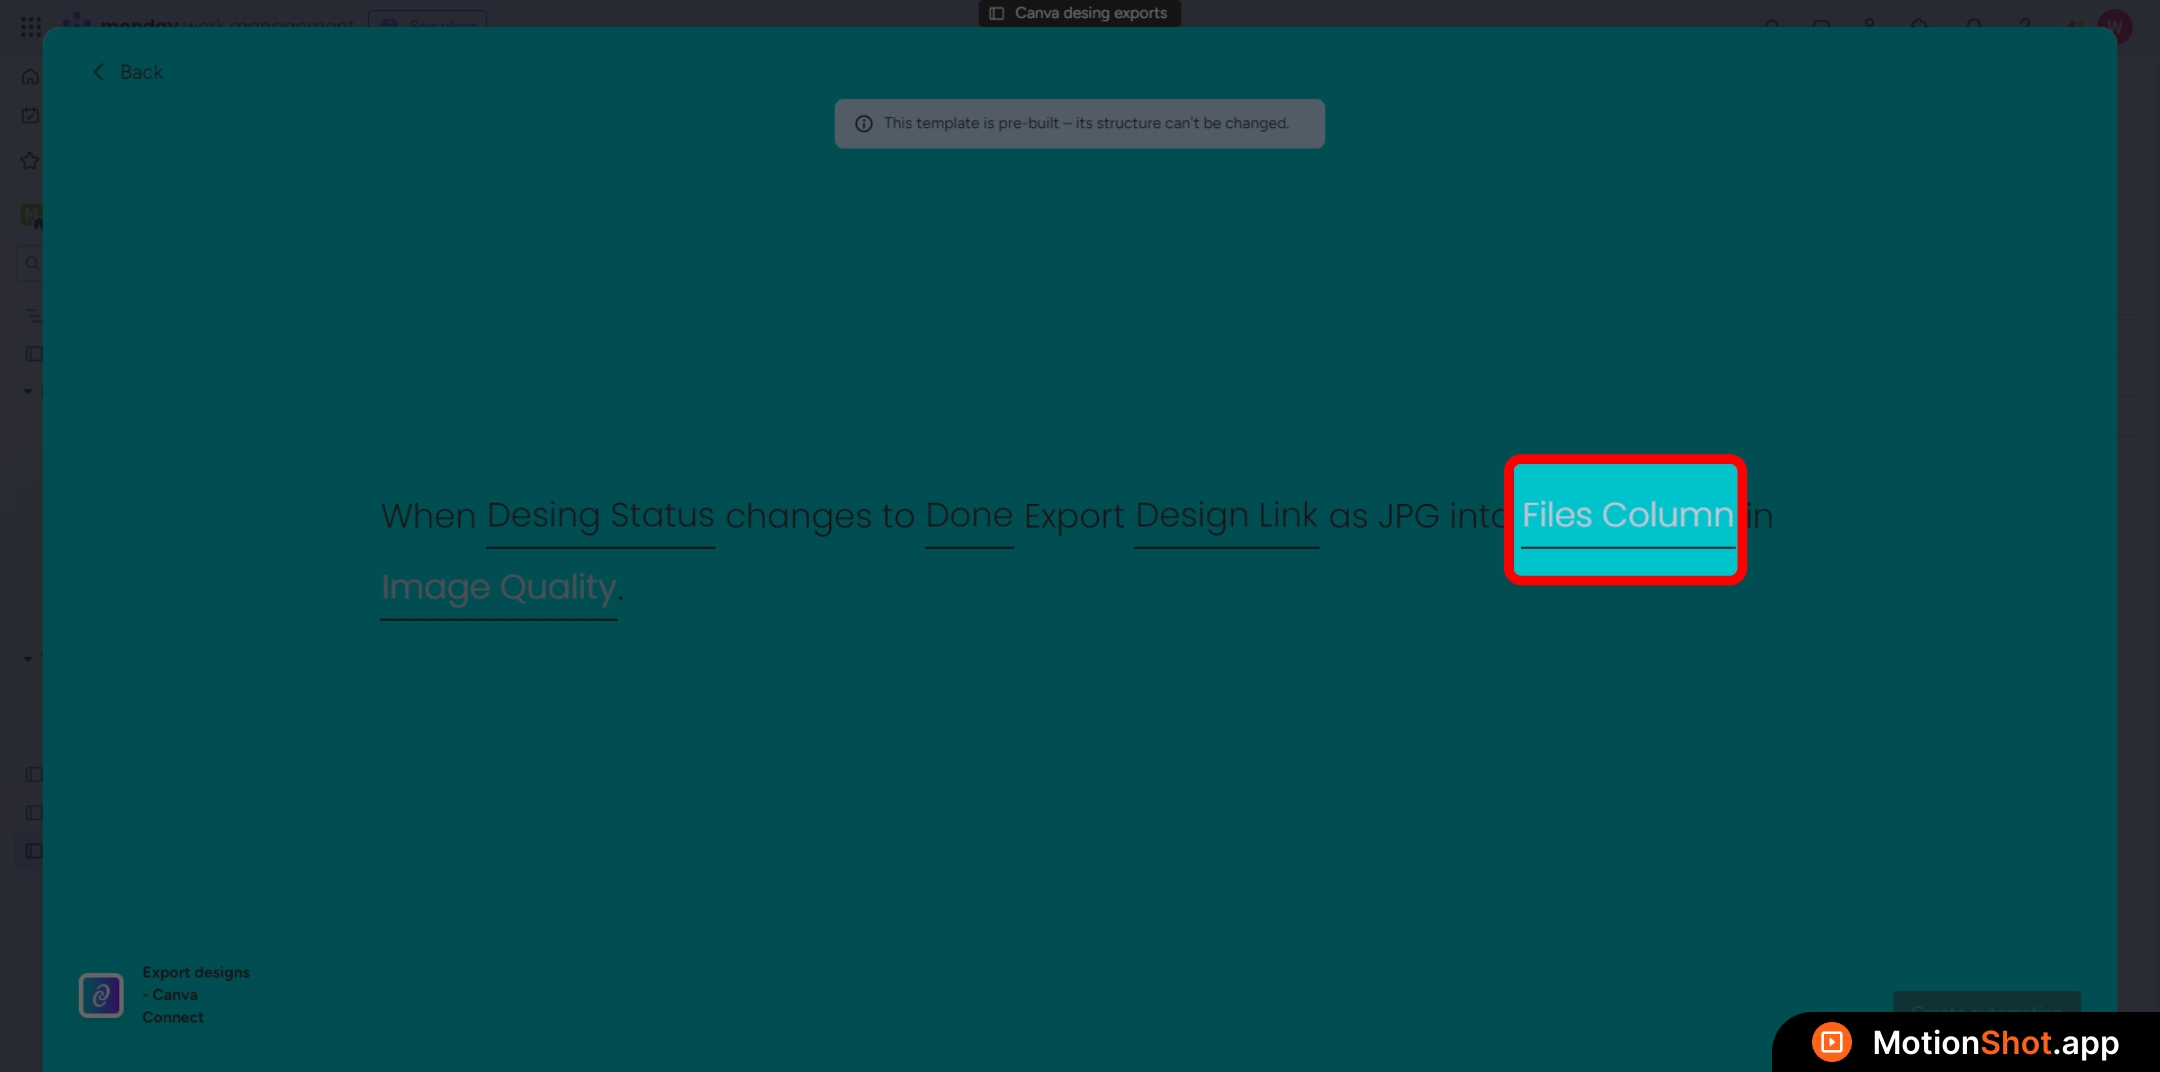
Choose the status column that will trigger the recipe on change
Choose the <b>status column</b> that will trigger the recipe on change
4
Choose the status value for the status column that will trigger the recipe.
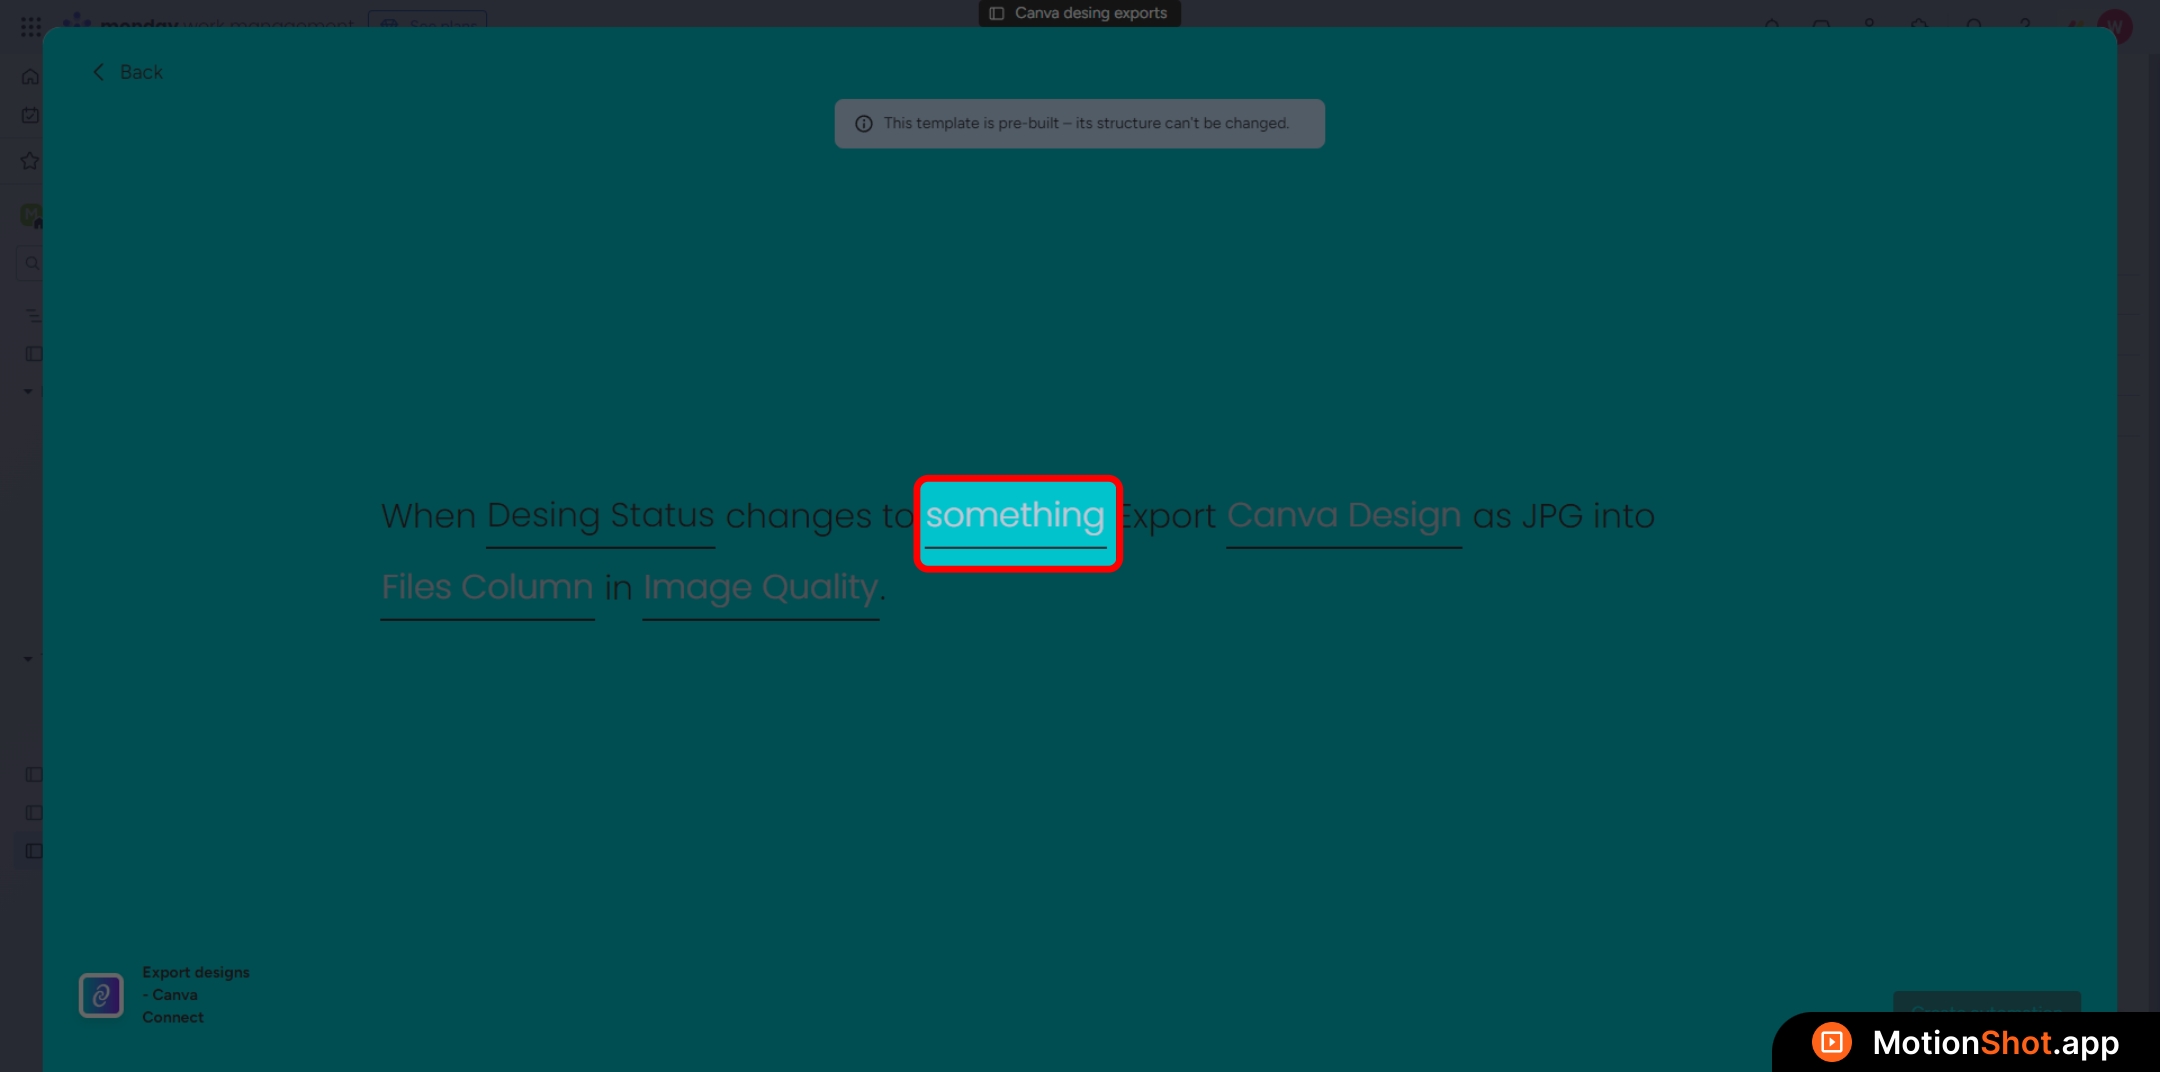
<div>Choose the <b>status value</b> for the <b>status column</b> that will trigger the recipe.</div>
5
Select the link column that will hold the Canva design URL for export
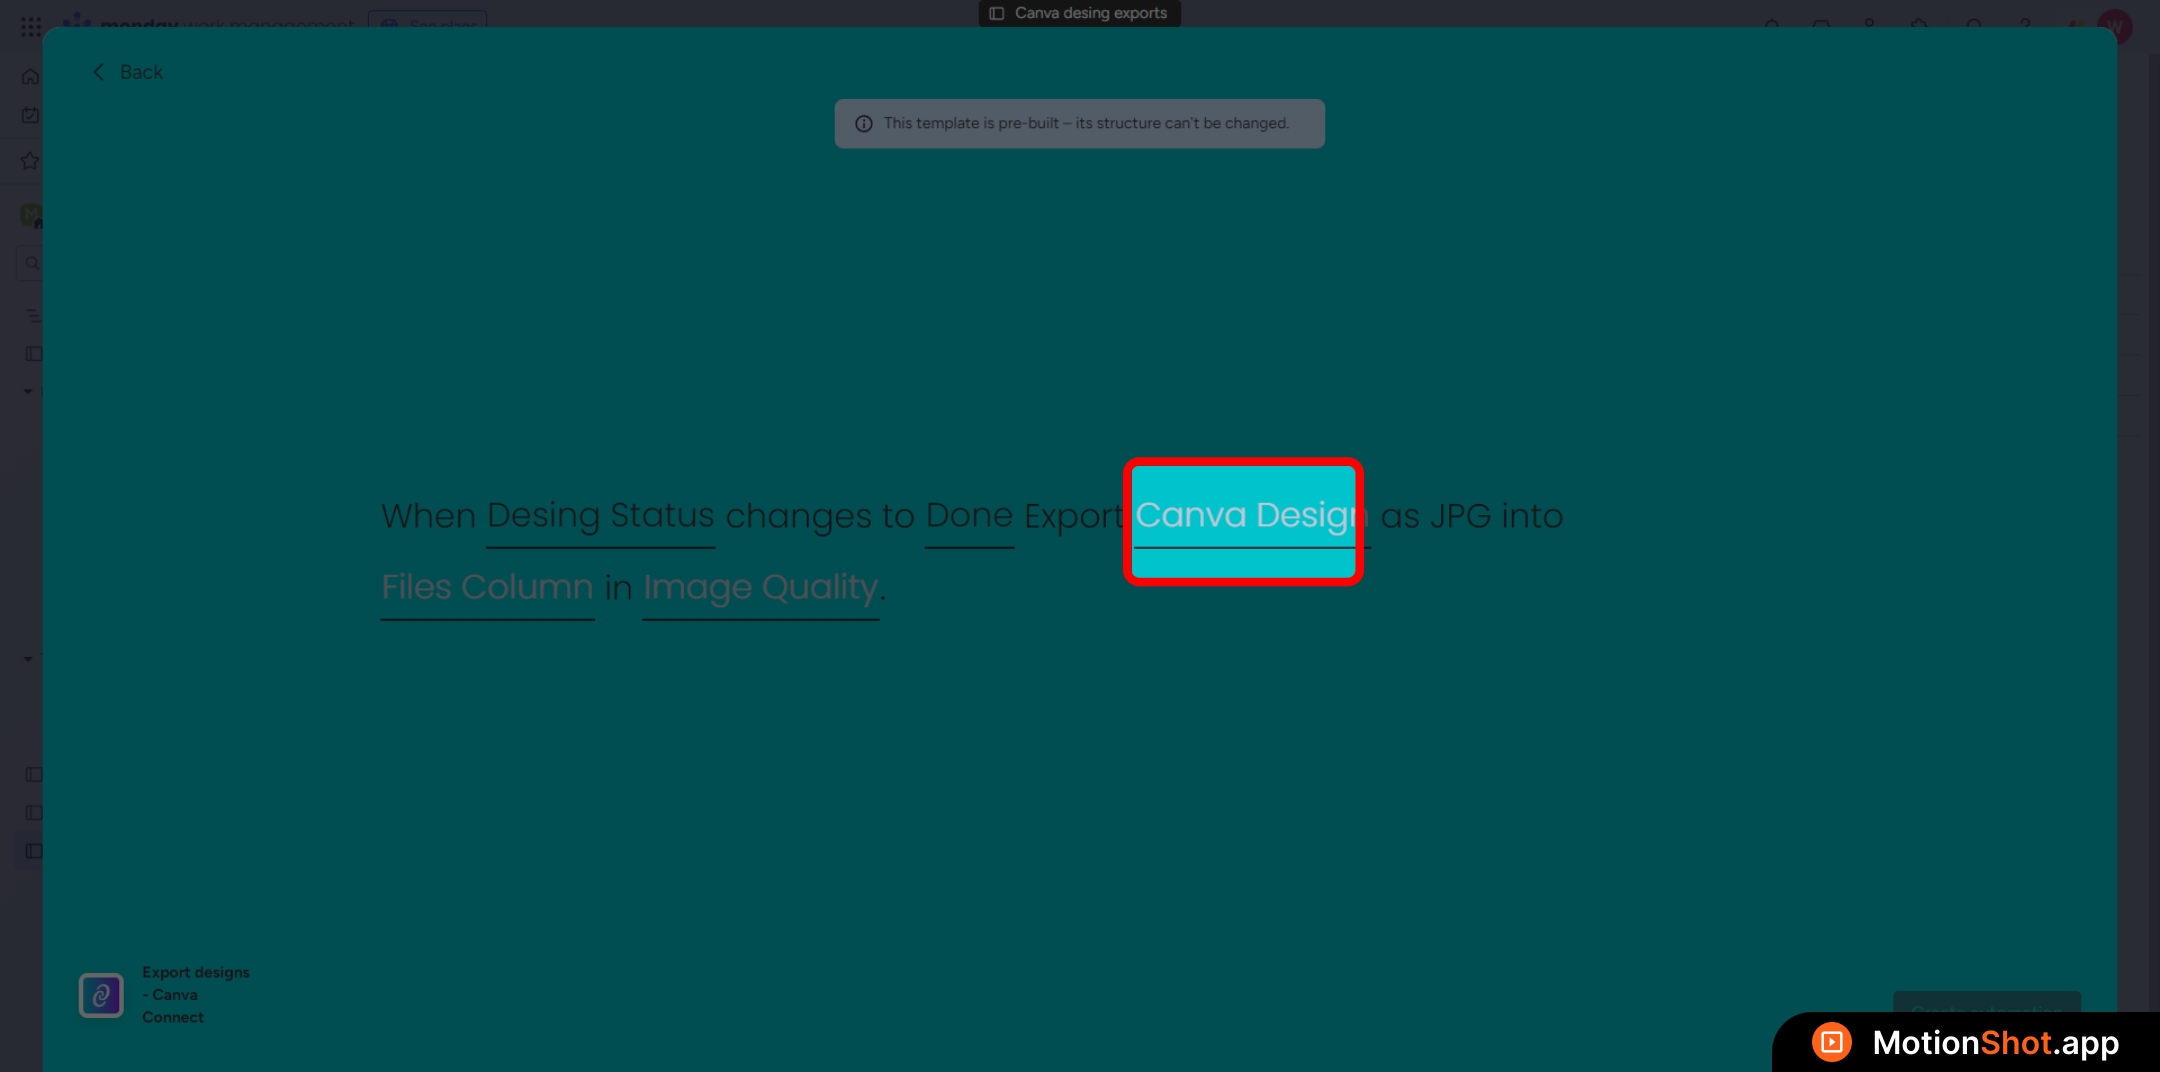
Select the <b>link column</b> that will hold the Canva design URL for export
6
Select the files column that will contain the exported design file after the export finishes
Select the <b>files column</b> that will contain the exported design file after the export finishes
7
This part is for the export setting
8
The export settings differ for each export type; refer to the documentation for your specific recipe.
9
Click 'Create automation' button to add the recipe.
Click '<b>Create automation</b>' button to add the recipe.